Kids’ closet
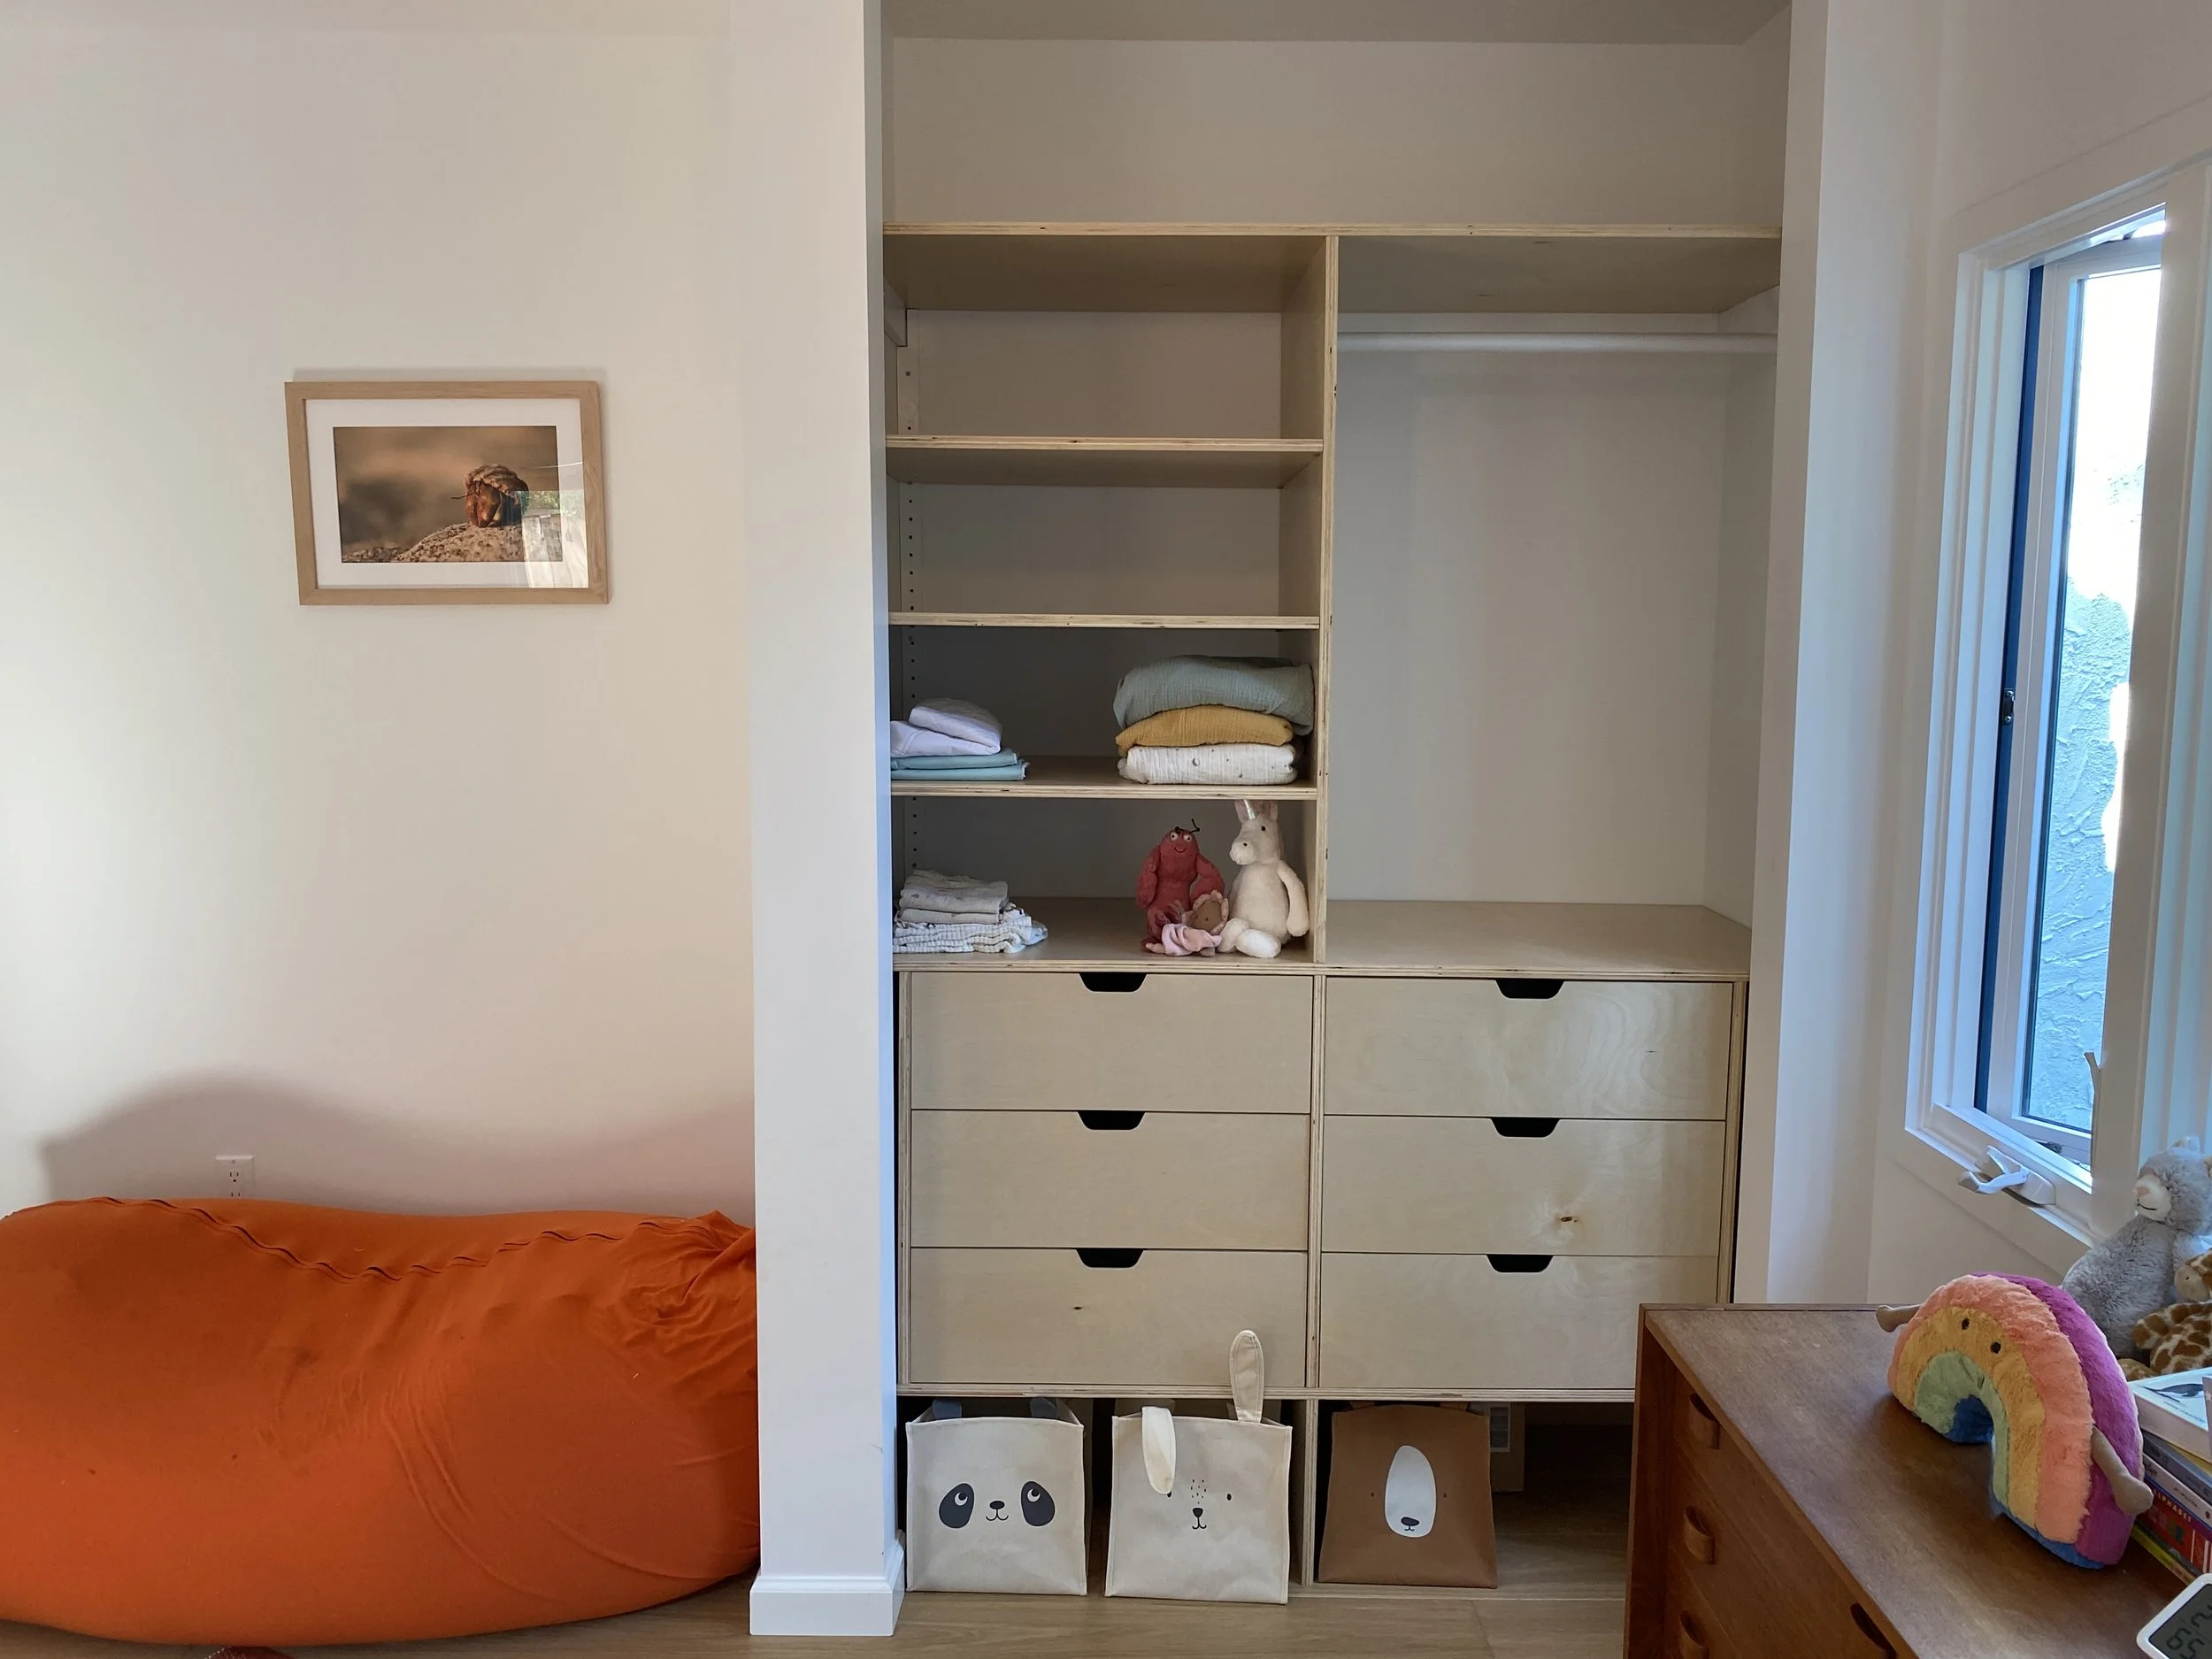
With the arrival of our second baby, we needed to make space in the bedroom and remove the dresser. During our remodel we had framed an empty closet and it was time to make the cabinetry.
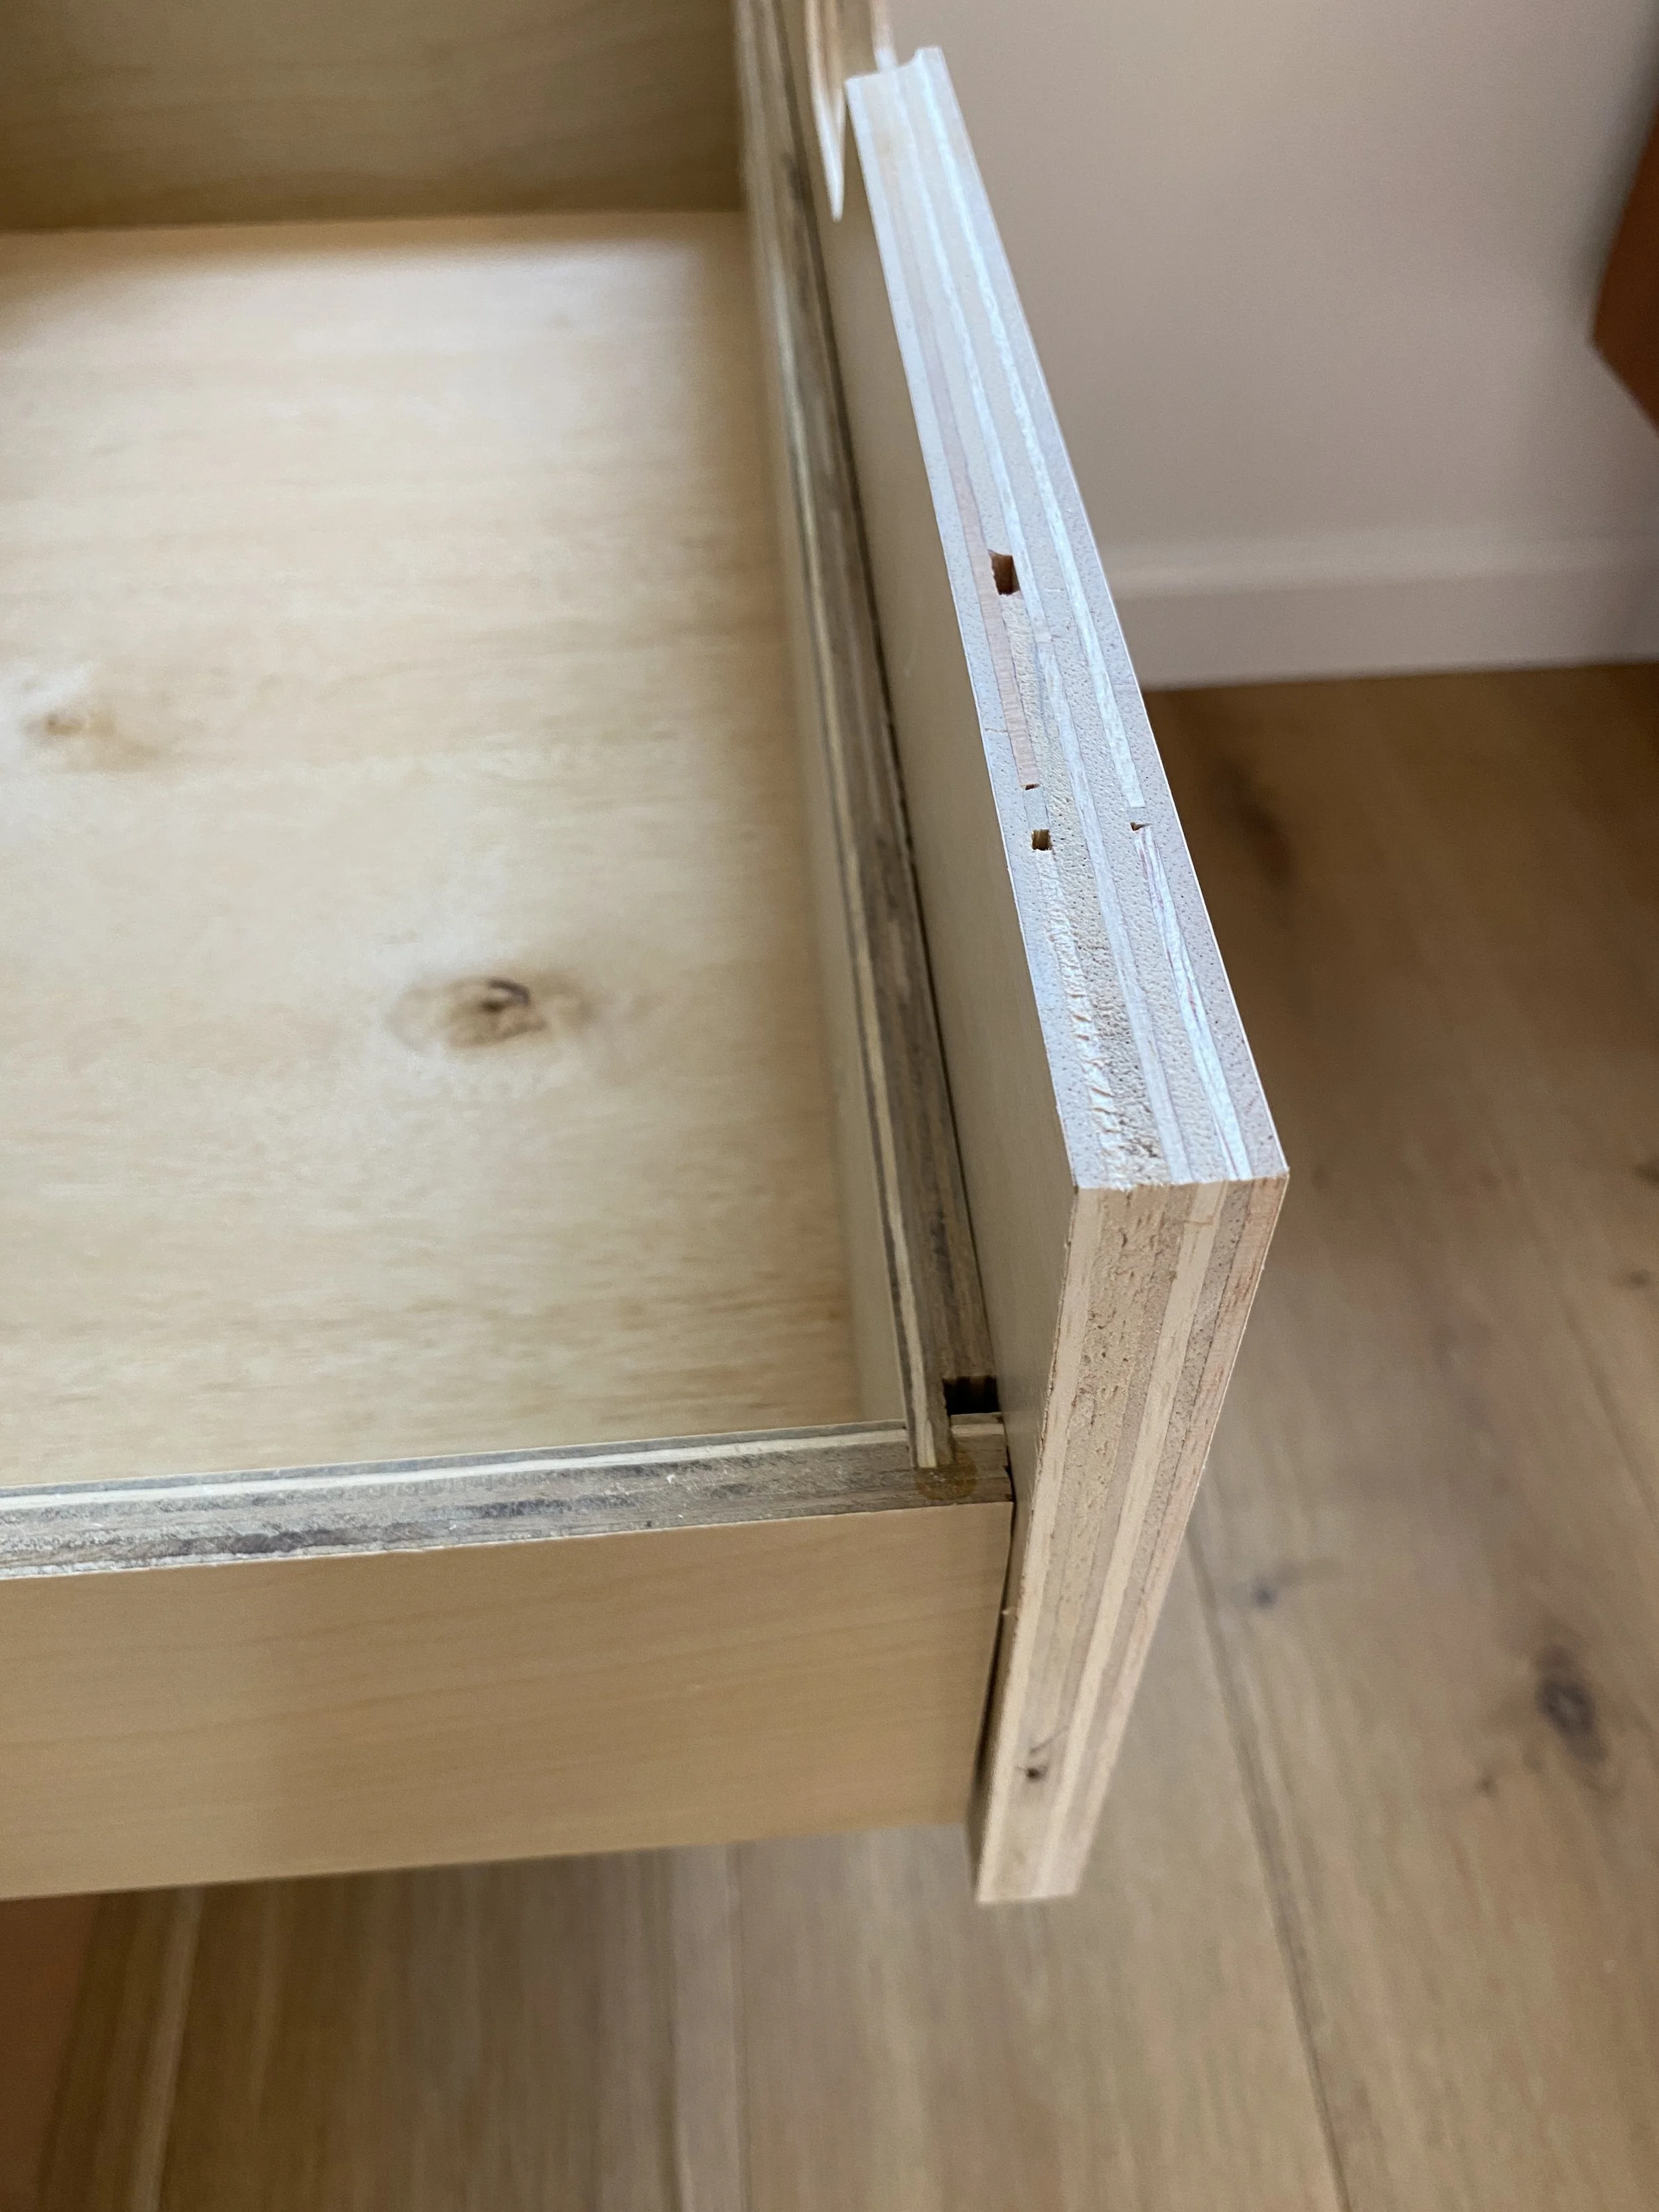
I built the closet out of plywood to fit in the enclosure. I had seen beautiful cabinets with exposed plywood edge and I decided to give it a try.
The closet has 3 sections, the bottom that fits boxes the kids can play with, six drawers and a few shelves.
For the bottom section, the boxes lay directly on the floor so that it’s easier to pull them out. There is room behind to store items we don't need often (all the extra milk powder we’ll likely never get to). With no bottom, this part is hold together with a 3/4’’ back.
The drawer are standard boxes. I was able to reuse undermount slides I had save from our old kitchen. This saved quite a bit as those are pricey!
While making the drawer boxes I mixed up width and depth (twice!) but after a few cuts and shallower boxes it turned out ok. For the handles, I reused a template I had 3d printed before for another project, and I used a round router bit to make them nicer to pull.
For the top part, I first put the top shelf as I would not be able to slide it in once the middle section would be installed. I lifted it up with spacing blocks, put the middle section and screwed everything together.
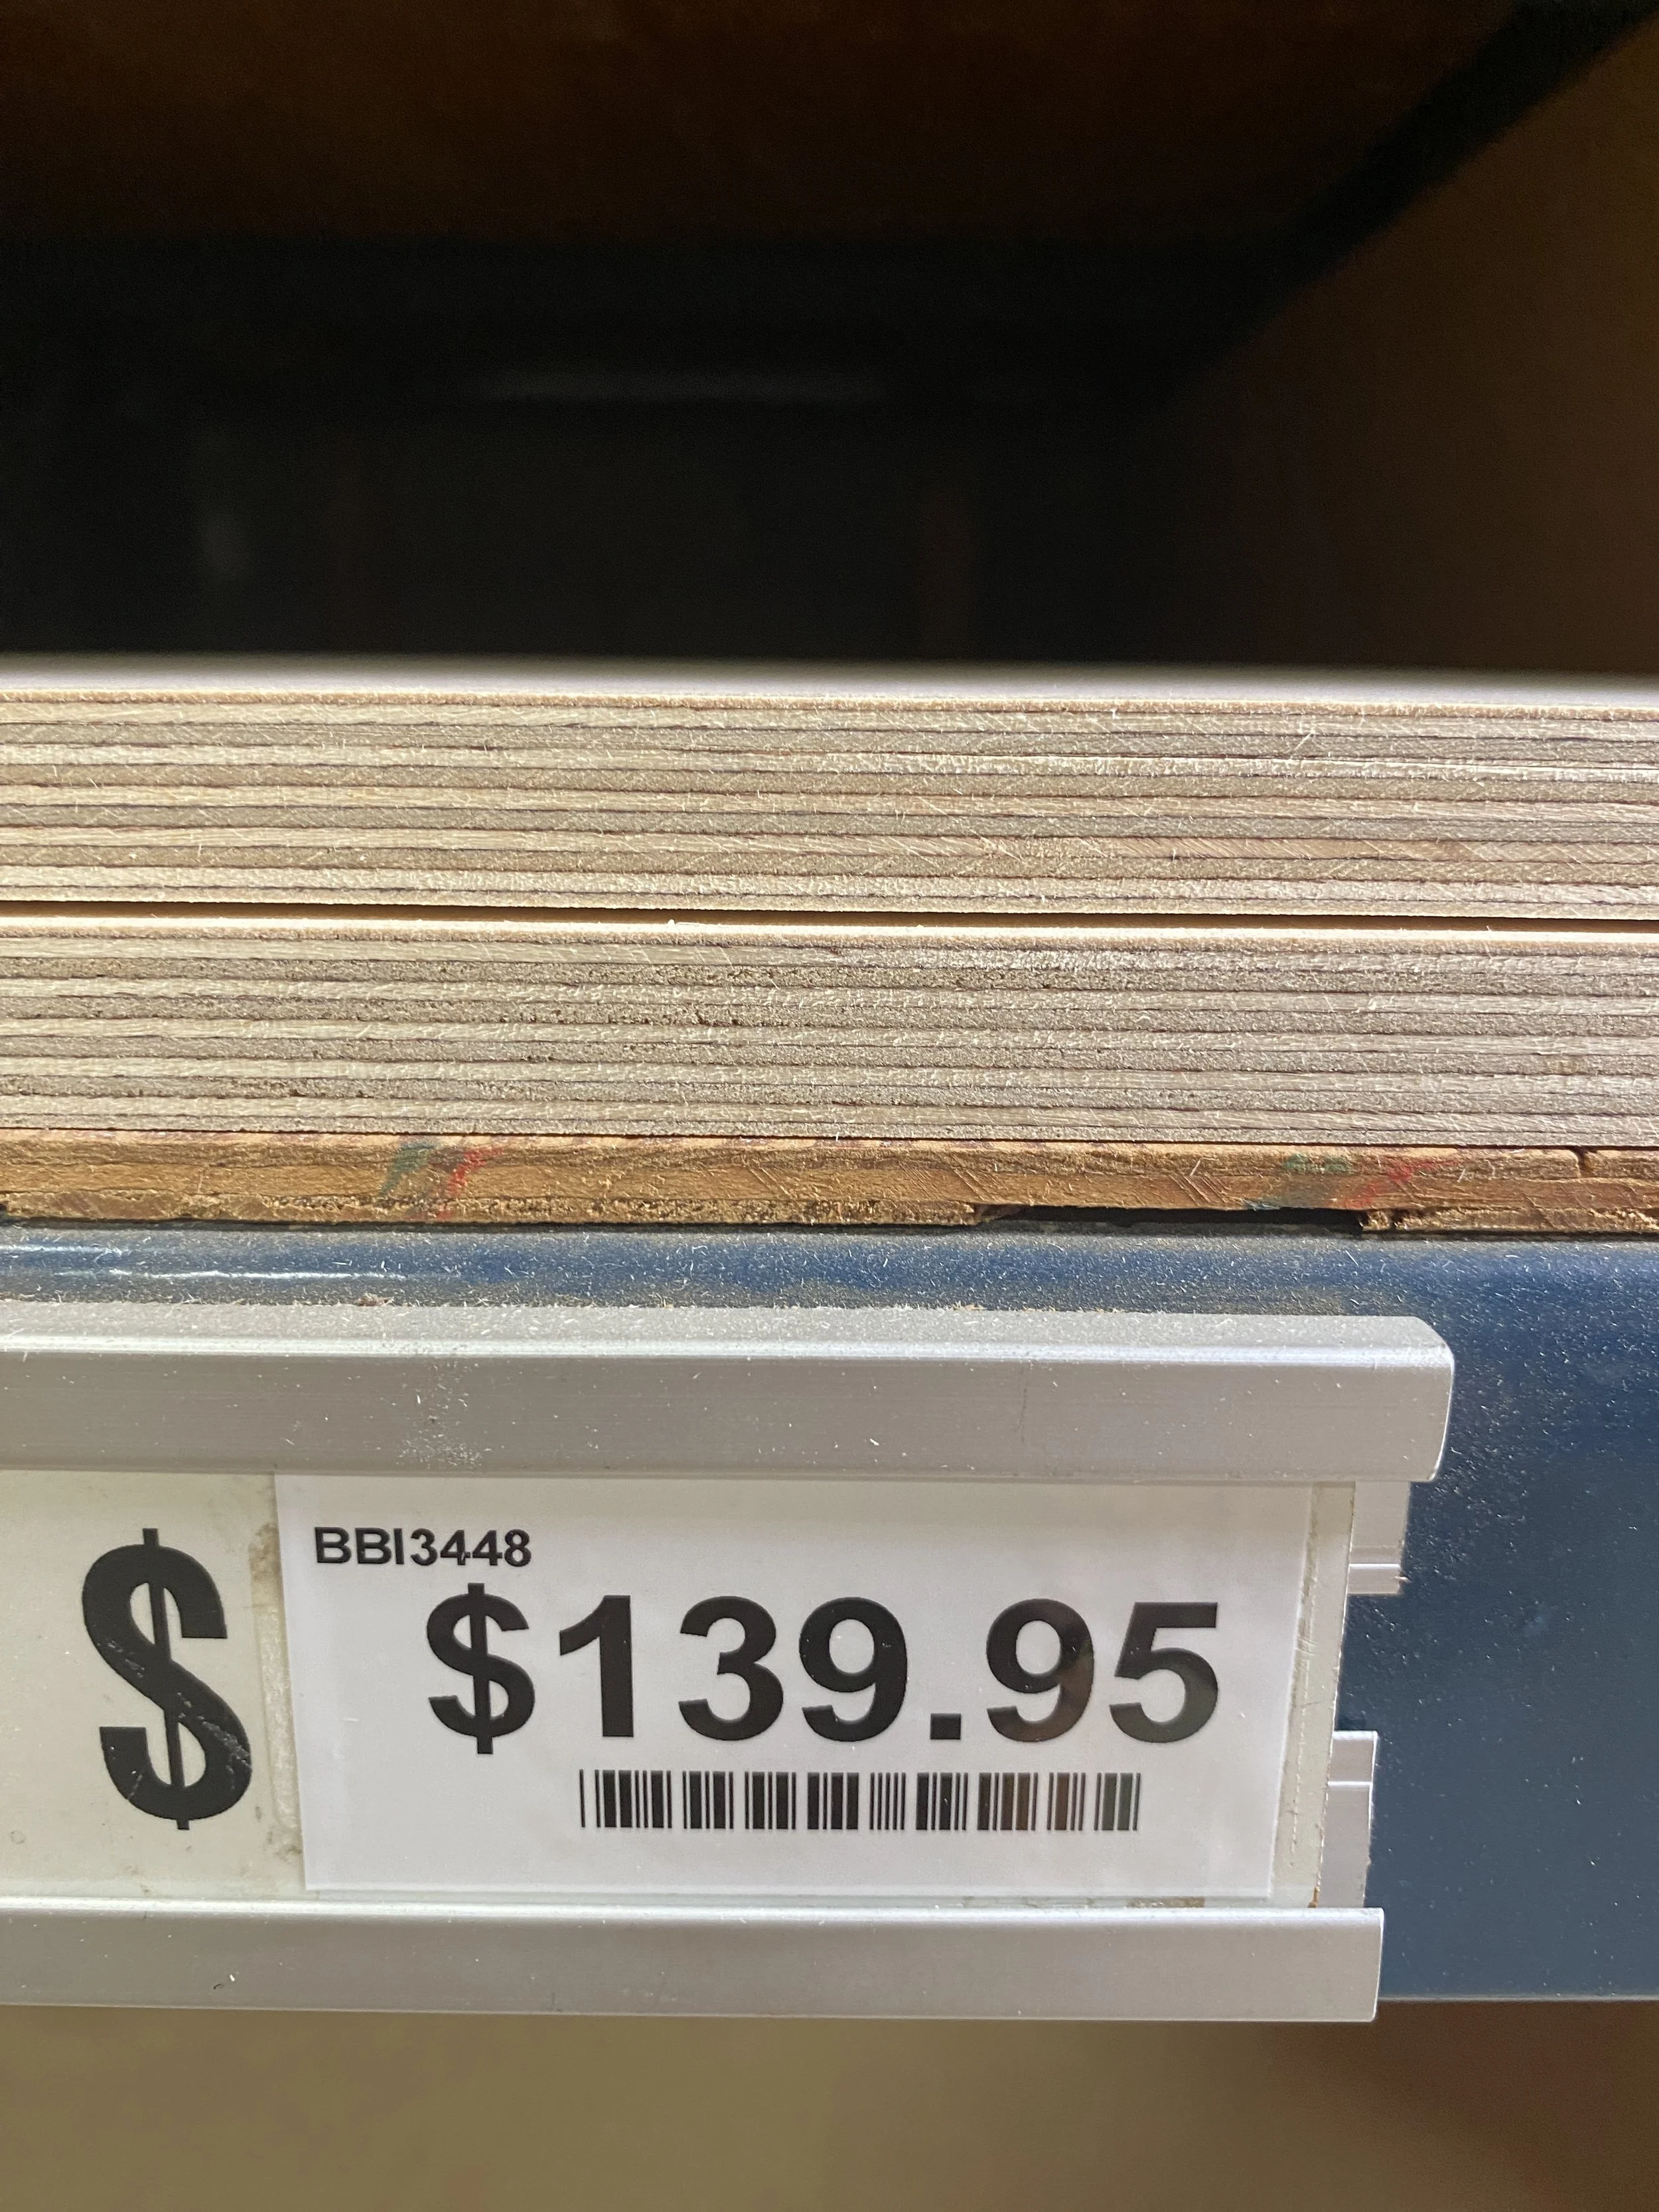
I was initially regretting not having bought nicer plywood as the edges have holes and inconsistent color. While I could have bought a bit better material for a bit cheaper at the local hardwood store, the really nice plywood would have been out of budget anyway. I saw some guy edge banding nice plywood on average sheets, but I definitively didn’t have time for that.
Overall a very enjoyable build that turned out great!


